
QTip: Get the Objects Quota Limit in Azure AD / Office 365
SUMMARY:
Azure AD Generates an alert when the objects are approaching the quota limit. In such scenarios it is required to open a case with Microsoft, present the business case about why the organization requires such an increase beyond the established limit, and if everything is Ok Microsoft will go ahead and increase this quota. That is perfect, after that the alert will be gone and many more objects can be created.
One important note is that an Azure AD object can be a user, a computer, a group, objects deleted (that are still in the recoverable container), etc. And there is not a direct way in the console for visualizing what is the total number of objects that we have created, or what is our limit. How can we figure out what is the object limit for our Azure AD / Office 365 Tenant?
DEFAULT VALUES:
By the time of posting this article, Microsoft establishes the following default limits:
| Azure AD Free | Without any verified domain | 50,000 |
| Azure AD Free | With at least one verified domain (The increase occurs automatically) | 300,000 |
| Tenants with self-service sign-up enabled | One example are the Universities and schools that they allow users to register by them selves to decrease the administrative overhead. This limit is not automatically increased in the future. | 50,000 |
Special considerations:
- Limit for tenants created before Oct 5, 2011: 10,000 Objects.
- Limit for tenants created between Oct 6, 2011 and May 31, 2012: 20,000 Objects
- Limit for tenants created after Jun 1, 2012: 50,000 Objects
- The limit for tenants using self-service sign-up do not increase their quota automatically, regardless M365/Intune/Or Azure AD premium licenses are added in the future. This will require opening a ticket with Microsoft.
- Typically the limits can be increased up to 500,000 objects for Azure AD Free. However, this limit do not apply for environments using licenses for Azure AD, Intune, and/or Office 365. In this case the maximum number of objects can go over this limit.
GETTING OUR OBJECTS QUOTA LIMITS:
| 1. Open the Graph Explorer website: https://aka.ms/ge (A sample account will be opened by default) 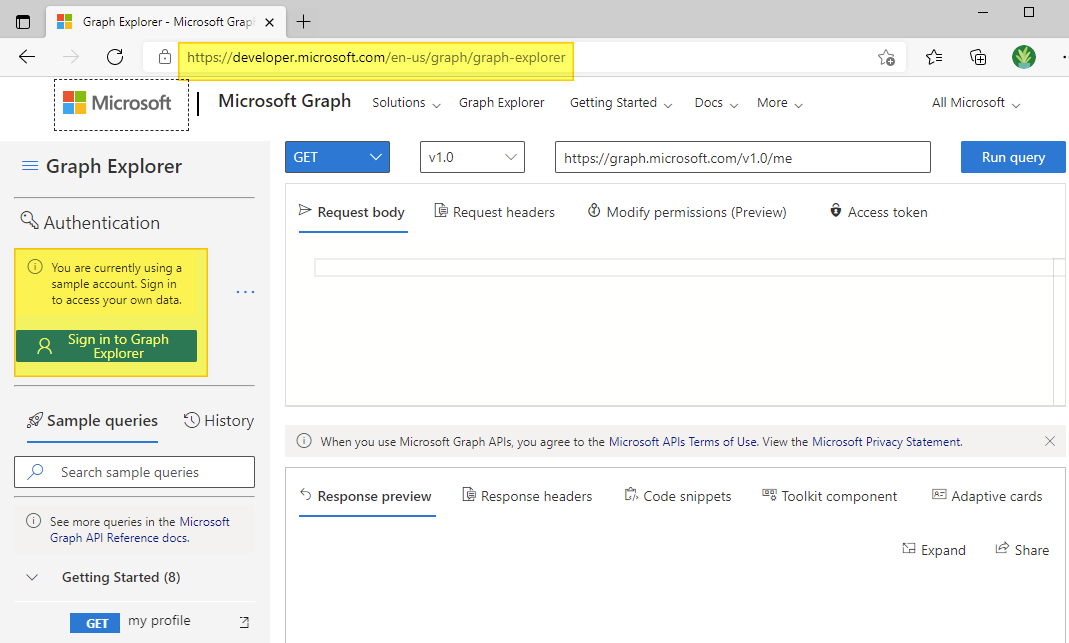 |
2. If this is the first-time accessing Graph Explorer, an authorization needs to be granted. You can click accept to approve it for your user account, or alternatively, select the checkbox to grant access automatically to any user in the organization.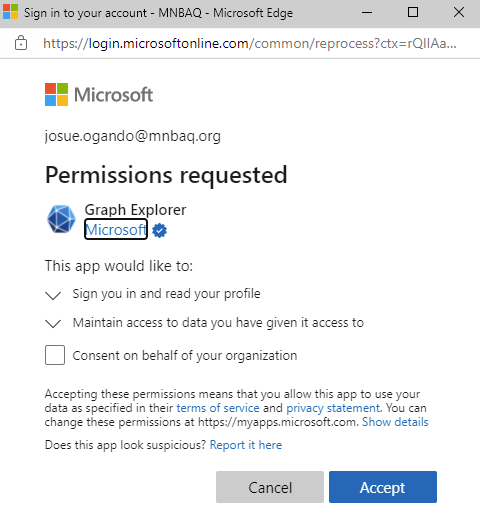 |
3. On the left navigation pane, ensure that the correct account is logged in for the tenant. |
4. Execute the following query: https://graph.microsoft.com/v1.0/organization and click Run query. Then, review the directorySizeQuota session of the output. There, we will see the values for both the used objects, and the total quota limit of the tenant. |

Great, thank you so much for all the details and steps. It has been of great help!
LikeLiked by 1 person